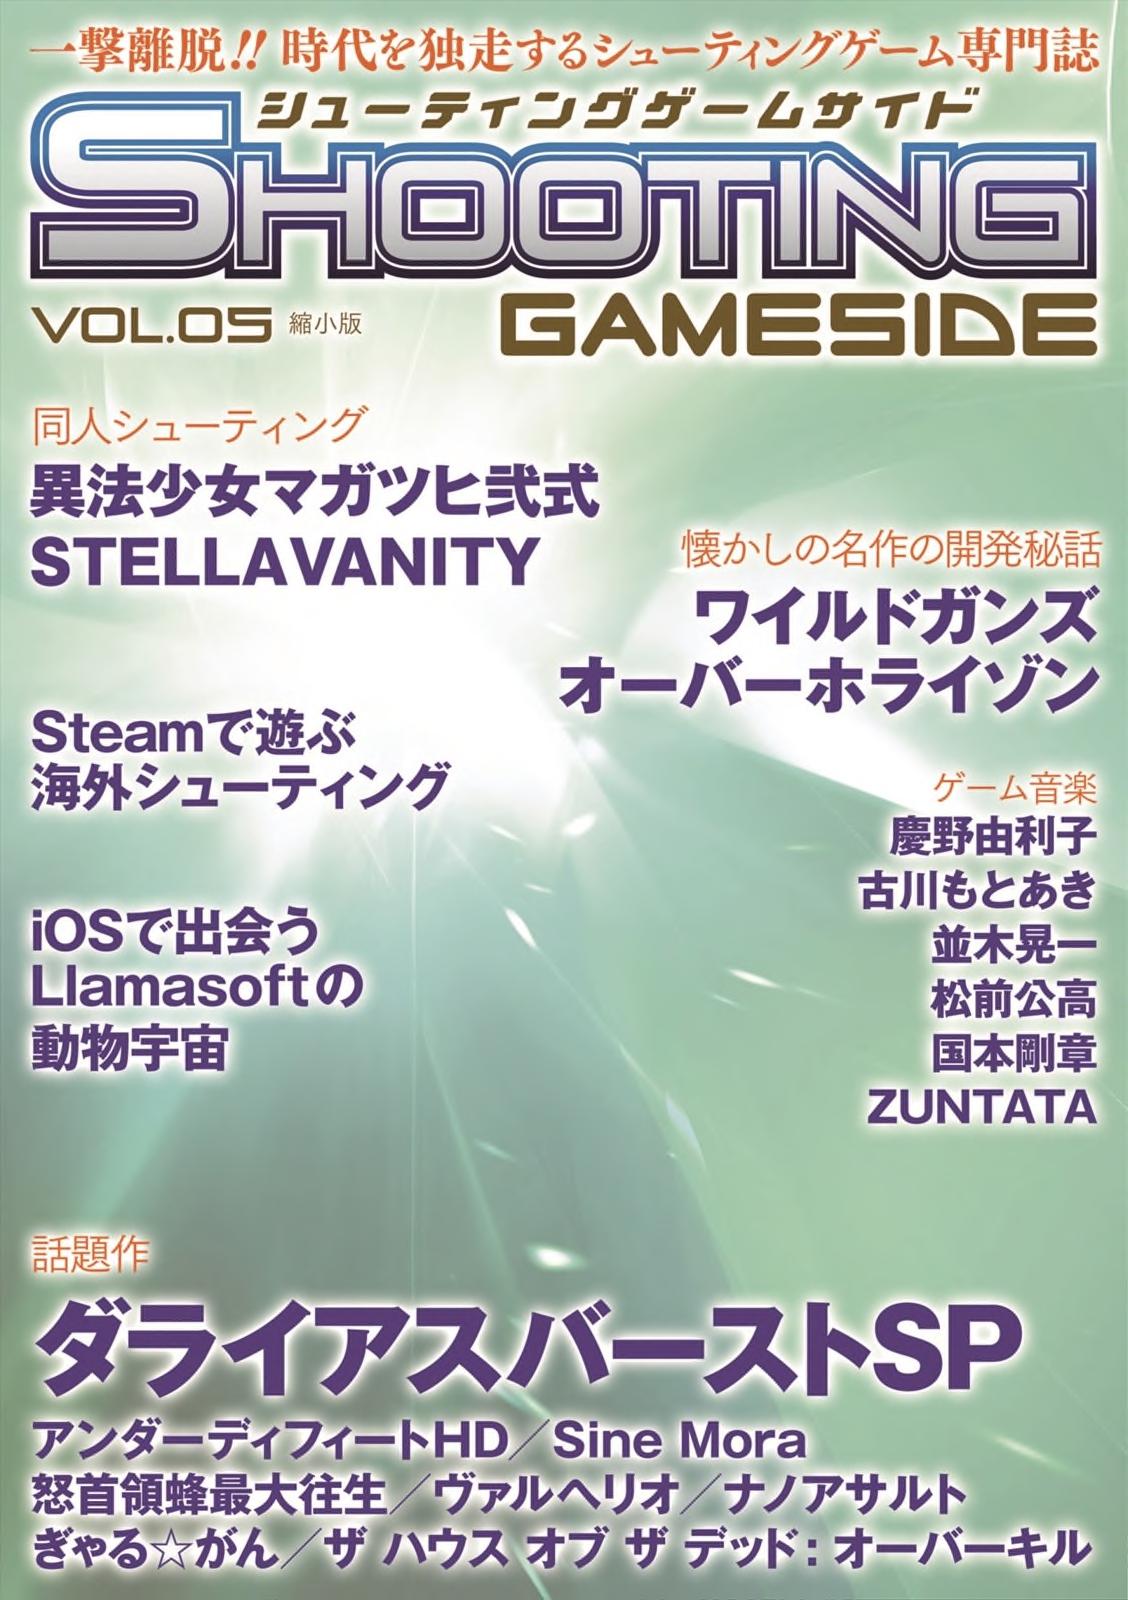

Stellavanity: Prelude to the Destined Calamity
A STG from TRIS-GRAM, Stellavanity has players fight through seven increasingly difficult stages of bullet hell.
SCREENSHOTS
HISTORY
STELLAVANITY - Prelude to the Destined Calamity - is a hybrid danmaku-RPG game released on December 31st, 2011 by the developer TRIS-GRAM, under the doujin circle Feathered Ether. The game has undergone significant changes since the release of its earliest demos, in addition to a number of updates. The game features 2 characters, each with a easy to learn "C-type" and a complex "S-type". The game has six difficulty modes; unique to the game is the ability to rank up in a run, making patterns harder in addition to revenge bullets.
The game's development has been halted multiple times, with the most recent stoppage from March 2022 - with sales halting on April 14th that year for a week - before development resumed on December 12th, 2022.
The latest versions are 1.23, released March 2022, and 1.22r, released January 2013 and still included in the official download. Following the developer's wishes, this article only details these (very similar) versions. Older versions may be mentioned sparingly to give context to otherwise bizarre details, but they should not be the focus.
STELLAVANITY - Prelude to the Destined Calamity -
Title screen from version 1.23
Setup
In lieu of official support in English, setup instructions are detailed here.
Where to buy
SV can only be purchased on DLSite, but it can be done from anywhere in the world, using PayPal to buy points through DLPay. 1000 points will cover the game alone, while 1500 will also cover the soundtrack.
Installing
The game comes in a preinstalled folder named "STELLAVANITY DL版 ver1.23". If your computer's character encoding is not set to Japanese, remove the "版" character to avoid crashes. Do not place the install in Program Files or other system folders, otherwise data will not be saved.
To run version 1.22r, move it out of the "old version" folder first. On Windows 10 and above, this version will crash in fullscreen unless a patch is applied.
Running
To play the game, open SV123.exe or SV122r.exe. To adjust certain options that cannot be changed while the game is running, open 起動前設定.exe (preconfig). It can run even if its name is garbled.
Configuring
There are several ways in which the game's settings are determined. For a fully customized setup, follow them in order.
The first line of スクリーンサイズ.txt specifies the window's width in windowed mode, from which the height is also calculated to maintain a 4:3 aspect ratio. The original (and minimum) resolution is 640x480, while the maximum is 1920x1440. If the game's ZIP file is extracted in the same locale used to run it, this file's name will be garbled to exactly what it needs to be for the game to find it.
In preconfig, the following options are available:
Screen update mode (Timer/VSync): Decides on what rhythm frames are displayed. Timer may cause tearing, while VSync may introduce lag.
Stabilization (Off/On): Stabilizes performance, leave it on unless some issue is found with it.
Confirm before quitting (Off/On): Asks if you are sure (Y or N to respond) before quitting the game with the Escape key.
Bullet palette (36/18/9/6): Amount of bullet colors available. Leave at 36 unless memory is in dire need.
Window scaling filter (Nearest neighbor/Bilinear): The process used to scale the video output in window mode. Nearest neighbor keeps the pixels sharp, while bilinear blurs them together.
Fullscreen prescale (Off/On): In fullscreen mode, scales video output to 1280x960 (2x) using nearest neighbor filtering. Useful for getting a sharper picture in setups with poor scaling options.
When starting up the game, you are offered the option of playing in fullscreen mode. Picking the left option or pressing the Y key will enable fullscreen, while picking right, pressing N or closing the prompt will continue in windowed mode.
Finally, the ingame config menus offer more in-depth settings:
GRAPHIC
Screen mode (Horizontal/Vertical A/Vertical B/Arcade A/Arcade B): Only Horizontal has the HUD sidebars. Vertical fits the whole gameplay view onscreen, while Arcade uses the entire screen and pans the view depending on your position.
Aspect ratio (50-200%, default 100%): Scales the picture in the long axis without affecting screen resolution. Causes great distortion, better to keep it at 100%.
Active info (Off/On): Displays the unlockable sidebar elements during gameplay or playback.
FPS control mode (By VSync/By Timer): Decides on what rhythm the game runs. VSync behaves awkwardly during 45fps slowdown and may accelerate the game on high refresh rate environments; set to Timer.
FPS (60/30/20): Reduces the amount of frames rendered while running the game at the same speed.
Effect level (1-5): Broadens the scope of special effects.
Effect brightness (50-100%): For special effects, brightness is the same as opacity.
Coin light (Off/On): Displays a glow around coin items.
Coin parency(sic) (0-100%): Opacity (not transparency!) of coin items.
Jewel parency(sic) (0-100%): Opacity (not transparency!) of jewel items.
Bullet color (Full/0-35): When not Full, forces all bullets to be the same color. If the palette size is less than 36, the chosen color is further collapsed to one of the available colors.
Bullet light (Off/On): Displays a glow around bullets.
Bullet graphic (Standard/Dark): Switches to a set of flatter-looking bullet sprites.
Bullet brightness (50-100%): Affects brightness, not opacity.
Shot parency(sic) (50-100%): Opacity (not transparency!) of your own shots.
Background brightness (50-100%)
Background layer (Full/Reduced/Minimum): May or may not have any effect
Background particle parency(sic) (0-100%): you get the point
SOUND
BGM volume (0-100%)
Sound effect volume (0-100%)
Item sound volume (0-100%)
CONTROLLER (also see #Controls)
Controller ID: Index of the gamepad to read input from. Starts from 0, so the second controller would be ID 1, for example.
Default Assault mode (Manual/Auto): Assault mode set at the start of every area.
Default difficulty
Default character
Controls
Gameplay buttons are fully remappable (movement can also be remapped for keyboard) and have different modes of operation:
For shooting:
"Shot and slow(laser)" has independent shot and focus buttons similar to Touhou games. Laser is fired by shooting while focused.
"Shot/laser and fullauto" has two shot buttons, one which focuses and fires laser when held and another that always shoots unfocused, similar to Cave games.
There is also a separate slow button that allows for focused movement to be used alongside regular shots or without shooting.
The time for a laser hold to register can be adjusted from 1 to 30 frames.
Full auto does not hinder Discharge buildup, unlike the main shot button.
"Laser and fullauto" works the same as the previous mode, but the first shot button fires laser immediately, without room for mashing for shot.
It is the equivalent of setting frames to laser to 0.
By a small margin, this is the most powerful shoot mode, as it allows for focused normal shots and faster Discharge buildup while not suffering from laser delay.
For shifts:
1 shift mode has a single button for both shifts, Delayed being activated with a tap and Ethereal with a hold.
2 shift mode has separate buttons for each shift, each being activated with a tap.
Characters
Modes
SV has a variety of RPG elements, but it is also designed with the arcade essence in mind. In light of this, three modes are available to suit player tastes:
Story: Character level, items, customs and stat boosts are all taken into account.
Rule: The character is set to a fixed level, while customs are disabled. Items and stat boosts still apply.
Strict Rule: All pre-run customization is disabled, but stats are still boosted over the course of a run.
S.Rule is treated in-game as an offshoot of Rule, sharing both scoreboards and medals. However:
Rule mode medals gain a star next to their names when achieved in S.Rule, also granting extra certification points.
For scoring, the current consensus (at least in the West) groups Story and Rule together while leaving S.Rule as its own category, highlighting the most different modes.
Basic gameplay
Type C
Type S
1: Delayed Shift Gauge. Requires at least 50% to activate and will turn blue when ready to use.
2: Two gauges integral to scoring. The upper pink gauge is the Counter Shift gauge. When it is enabled, the level of the Counter Shift is shown at the lower right corner of the screen. The lower green gauge is the overkill combo gauge. After an overkill, a number indicating the current overkill bonus will appear next to this gauge. Keep overkilling enemies to add a multiplier to the overkill value. If the gauge empties, the combo will end, signified by the overkill value turning gray.
3: Lives
4: Bombs
5: Ethereal Shift Gauge. Requires at least 50% to activate and will turn yellow when ready to use.
6 Blade Gauge.
7: The character's stats
8+9+10: UI addons that display additional information about the run. Not available by default, but can be bought in the shop.
Type-S has a wide variety of tools to both survive and score. Type-S characters retain their normal and focus fire, bombs, bomb conversion and Overdrive from Type-C. Two additional weapons available only in Type-S are Assault and Blade.
Assault is a lock-on laser attack usable on all non-popcorn enemies. Locks are obtained by hitting such enemies with the central part of the character's shot. There is a maximum number of available locks at once, which differs depending on the character. By default, auto-assault is enabled, allowing automatic usage of Assault whenever shot is held down. This can be disabled in favor of manual Assault usage by pressing the Assault button, and re-enabled by double tapping the Assault button in manual mode.
Blade is a short range melee attack. Using it requires spending a portion of the Blade gauge depending on the character. Pressing the button multiple times will trigger a multi-attack Blade combo. The number of possible attacks in the Blade combo (ranging from 1 to 3) depends on the Blade level, which is determined by the amount of Blade gauge available and is viewable at the bottom right corner of the screen. Large enemies and bosses at low health can be targeted for a Raid by pressing the Blade button at the right time, denoted by "RAID OK" appearing at the bottom right corner and a jingle sound playing. Raiding causes the character to swiftly move to the enemy's position, execute a level 3 blade combo regardless of Blade gauge status, and then return to their previous location, all the while becoming invincible for the attack's entire duration. Afterwards, the Blade gauge will turn red (negative value) and slowly drain, disabling both Blade and Raid until it reaches 0.
Type-S has 2 exclusive "shifts" or hypers. Both shifts disable overkilling upon activation and end overkill combos upon running out, but can be cancelled early by pressing their buttons again, at the cost of half the remaining gauge.
Delayed Shift - Virtually identical to Kakusei from Espgaluda, this shift spawns more enemies, slows down all bullets on the screen and makes enemies fire more bullets. Killing any enemy during Delayed Shift converts their bullets (other than suicide bullets, if any) into gems. Entering Delayed Shift also enables a special Counter Shift. During Delayed Shift, all gems collected charge the Counter Shift and increase its level. Higher levels increase the value of future gems collected during that Delayed Shift. When Delayed Shift runs out or is cancelled normally, it releases an energy wave that clears bullets in an area around the player and damages enemies whose bullets were cancelled. Damage and cancel area increases with Counter Shift level, to the point of clearing the entire screen at the maximum level of 3. During boss fights, the Counter Shift slowly charges automatically and will always clear the entire screen of bullets when released. Bombing during Delayed Shift cancels the shift without creating a Counter Shift, but retains the full amount of Delayed Shift meter at the time of cancellation.
Ethereal Shift powers up both Blade and Assault. Assault becomes automatic rapid fire against all enemies and cannot be turned off. The blade gauge will also become infinite, allowing the player to spam Blade combos. However, Raid will be disabled. During Ethereal Shift, a lot more enemies will spawn. These enemies spawn from an independent wave based on how long you've been in Ethereal Shift. Killing these enemies spawns a large number of coins. When Ethereal Shift ends, a large portion of the Blade gauge will be drained. Getting hit during Ethereal Shift ends it early and spends a bomb to prevent life loss if one is available. Getting hit this way will still count as a hit for TLB and rank requirements, however.
Overkilling
Medium and large enemies enter an 'overkilled' state if their HP is reduced to 0 with either Assault or Blade attacks while not in either Shift. During this state, they do not move or fire bullets. Doing further damage to overkilled enemies increases both shift gauges and is central to the scoring system. This state is known to end when either: a Raid attack completes (including if a Raid would put enemies into the overkill state), or, once Assault attacks cease striking the enemies.
The player can also overkill stage bosses if they reduce the current phase's HP to 0 during Ethereal Shift, leading to a special overkill phase (marked by a special sound, the background reddening, and the boss' bottom health bar filling with a gray color instead of a red one). During the overkill phase (called a Counterburst in-game), the boss will use a harder version of the current phase's pattern, which becomes more difficult the longer it goes, via linearly increasing the velocity of all bullets spawned (with different rates depending on difficulty). This phase continues until the player takes a hit or their Ethereal Shift runs out. There is no long-term survival consequence to taking a hit during this phase, as the player will not lose any bombs or lives. Furthermore, the game does not register this as a hit for calculating post-final boss and rank requirements.
Resources
Life item
Bomb item
The player starts the game with 2 extra lives; each life starting with 3 bombs and no carryover from the previous life.
Starting lives are set to 5 in practice mode.
Starting bombs can be changed by accessories. In all cases, they affect every life's bombs equally.
Extra resources can be earned by:
Score extends: In full runs only, 2 available, with requirements based on difficulty:
Item extends: Two enemies drop life items, given certain conditions:
The last tower in area 5, if all towers and floors in the stage were destroyed.
The second midboss in area 7, if (playing type S or Hard-Pandemonium) and both midbosses were destroyed before timing out.
Bomb items: Dropped by all midbosses if defeated before timing out.
The area 3 midboss drops 2 bombs if defeated after destroying all of its familiars, without bombing and (?) with a certain amount of time remaining
Resource duping
Some resource items are worth double if collected on the frame they spawn:
Area 3 bomb (unless the double bomb condition was met)
Area 5 extend
All area 7 resources
Items always spawn at the dropping enemy's origin (the point Assault aims at), so this can be reliably abused for massive survival and scoring benefit.
Progression
SV has several forms of progression between runs, owing to its RPG inspiration. While the grinds required can be time intensive, almost everything that can be earned or bought is shared between all shot types; the one exception being experience, which is not shared across characters.
Run rewards
Results screen, showing the experience, coins and jewels gained.
Results screen, showing a level up and the crystals gained.
After the game over or credits animations, the game advances to the results screen, where several currencies are awarded based on performance across all credits:
From the total score, experience to level up the current character.
From the sum of coins across all stages, coins to buy system features.
From the sum of jewels across all stages, jewels to buy items and customs.
From the progress made, crystals to allocate into stat boosts.
Routes
The game is comprised of 7 areas, of which at least 5 must be played: two out of the first 4, then 5, 6 and 7.
The game's scoreboard assigns Zones to these areas: Zone A is for areas 1 & 2, B for 3 & 4, C for 5, D for 6, and finally E for 7.
Runs can be started on area 1 or 2, and after each area the player may advance to any of the following:
The area after the next (after areas 1–3) or immediately next (after areas 4–6).
Areas 3 and 4, if the previous area was the first in the run.
The next area, if the player qualified for a rank up in the previous (see #Rank).
Rank
Orthogonal to the difficulty selection is rank, a second scale that is determined during a run. It has various effects:
On stages, it increases bullet speed and incrementally adds revenge bullets, which spawn over time from an enemy explosion and can be sealed by being close enough when they spawn.
On bosses, it increases health, either bullet speed (type C) or density (type S), and adds extra boss phases in specific cases (area 3 rank 2, area 4 rank 3).
In addition, increasing rank can add more stages to the run, up to all 7 at rank 4.
Rank starts at 0 and goes up over the course of the first 4 areas. To qualify for a rank up at the end of an area:
With type C, stay within a certain amount of stage hits, depending on the area. If you've skipped areas, the requirement is more lenient.
With type S:
If you haven't skipped any areas, stay above the total score target for each rank.
If you've skipped areas, earn a certain amount of score in the area, depending on rank.
If you qualify for a rank up, "QUALIFIED" will be shown after the clear bonus is tallied, and the very next area will be available for selection. Selecting the next area will accept the rank up, while selecting any other will reject it. Since area 4 can only lead to area 5, it's impossible to reject a rank up earned in it.
Rank 4-EX
If the player takes the 1-2-3-4 route, thus playing all stages, they will be at rank 3 in stage 4, in which case qualification works differently: rank 4 is guaranteed, but meeting the threshold will raise rank to 4-EX, denoted as an orange 4 in the HUD. It has the same effect as any other rank increase, but in greater magnitude the lower the difficulty, ranging from similar to other steps on Hard and above to game changing on Easy. By exceeding certain stage hit thresholds, this rank can exceptionally be lost, returning to rank 4 for the remainder of the run.
Shortly before the door opens in area 7, rank EX is locked in place and cannot be lost from that point.
In addition, in full runs only, some extra hazards are activated once the descent starts:
On Arcade-Nightmare with type S, Poniards shoot 3-way spreads akin to Pandemonium.
On Easy-Nightmare, if the player has at least 5 lives, every enemy shoots an aimed ring at the start of its revenge bullets, but with a larger sealing range.
On Easy-Hard with type S, Tetrapedes shoot much faster bullets than usual.
Hidden bosses
SV features three different hidden bosses, one of which may appear during full runs after the regular stage 7 boss, Core Unit. If CU is reached on 1CC pace while meeting certain other requirements, its last phase will have a shorter timer and far less health, giving way to the hidden boss in a manner reminiscent of Ketsui.
If rank EX is kept until the end of the game, the TLB, Vier, will appear as long as the 1CC requirement is met.
Outside rank EX, one of the FLBs (from 偽真ボス, fake TLB) may appear based on total hits. The requirements depend on type, difficulty, autoguard, and rank.
Elm Order appears when the outer requirement is met, while Vier Dummy replaces it if the inner requirement is also met; but their fights are similar in difficulty.
The higher the difficulty, the more lenient the requirements.
Type C can access Elm Order starting at rank 1 and Vier Dummy starting at rank 2.
At rank 4, Elm Order has no hit requirement.
Type S can access Elm Order from rank 0 to 3 and Vier Dummy from rank 1 to 4.
Elm Order only appears at rank 0 if the 2-4 route is taken.
From rank 2 on, Elm Order has no hit requirement.
At rank 4, Vier Dummy has no hit requirement.
Autoguard affects hit requirements according to an exact formula: req=ceil(req*2/3)-1
NORMAL
ARCADE
HARD
NIGHTMARE
Theoretical
PANDEMONIUM
Theoretical
NORMAL
ARCADE
HARD
NIGHTMARE
Theoretical
PANDEMONIUM
Theoretical
Type-S Scoring
This section aims to explain the basics of the scoring system for Type-S. Scoring strategies differ between Story Mode and Rule Mode. There are exceptions to tips describe in this section. The most important part of scoring is overkilling enemies which increases all sources of points. There are other aspects of the scoring system which are explained below.
Stages
Overkill Chain: Will likely always be active during a stage. To manipulate this value attack enemies targets by assault and raid large enemies when possible. Taking a hit breaks your chain. All sources of points derive from the value of this chain making setting a high value the most important mechanic of scoring. Each "link" in a chain has its own timer, so care must be taken to route as efficiently as possible.
General Strategy for Stages: Going from Ethereal Shift (Collecting Coins) to Delayed Shift (Recharging Ethereal Shift + Cash in cancels).
Collecting Coins: Coins raise the value of gems (cancels) throughout the stage. Coins drop normally when destroying enemies and have an increased rate during Ethereal Shift. At certain thresholds Coins increase the value of Gems (cancelled bullets).
Multiplier Gains: Multiplier gains depends on a variety of factors but in general increases when you destroy enemies with a high overkill chain.
Ethereal Shift: During Ethereal Shift your Blade use is unlimited, if possible, you can stay at the top the screen to destroy enemies as they come. Enemies (excluding bosses) defeated in this state explode removing bullets in a small radius around them.
Delayed Shift: Destroyed enemies cancel their bullets. This is primarily used to recharge your Ethereal Shift. Once you’ve reached the White Gem coin threshold Delayed Shift is used to cancel.
Counter Shift: During a delayed shift it is important to charge this up to level 2 – 3 to cancel bullets on the entire screen. Level 2 adds +1 Gem Level to your Cancel, Level 3 adds +2 Gem Level to your cancel.
Raidbombing: If raiding a large enemies and bombing, the Blade button can be held to stay in place during the bomb animation. Using more than one bomb is possible but not recommended initially. Cashing in with the overkill bug requires a high overkill and a section where Delayed Shift is used to cancel bullets.
Bosses
General Strategy for Boss fights: Going from Delayed Shift (Cancelling boss patterns) to Ethereal Shift (Activating overkill + raising your overkill chain). Having a high gem values is important.
Raid: All phases should be ended with a raid regardless of whether you have an Ethereal Shift charged up.
Delayed Shift: Should be used at the beginning of the phase to cancel patterns and recharge ethereal shift.
Counter Shift: Counter Shift charges up based on time you’ve spend in Delayed Shift during a boss fight. Counter Shift will always cancel bullets on the entire screen.
Ethereal Shift: Should be used at the end of a phase, if you have it charged up you can raid and hold the Ethereal Shift button. Ethereal Shift will activate during the raid extending the current phase.
Overkilling: Occurs during an Ethereal Shift once the boss HP reaches 0. Continue attacking the boss for more points. Higher points are awards if Blade attacks connect.
Practice Mode
1: Game mode.
2: Character and type.
3: Difficulty.
4: Area name.
5: Rank.
6: Starting position. The default is stage start. You can select every mid boss or area boss.
7: Power level.
8: Auto guard.
9: Start practice.
10: Back to previous menu.
Notes:
Only Story & Rule Mode are usable (e.g. not Strict Rule)
Practice for areas 1 to 4 are unlocked from the start (areas 5 to 7 must be unlocked via the system shop).
Rank selection in areas is restricted to what is possible in a normal credit (e.g. Rank 3 cannot be selected for area 1).
Hidden bosses do not appear unless directly warped to, which must be unlocked separately.
Hazards unique to locked rank EX do not appear.
Power level starts from the base stats of the selected character, and increases them in steps which are highly variable depending on difficulty & character.
Practice Mode, unlike regular attempts, allows for the use of Auto Guard in Nightmare/Pandemonium.
Certain behaviors of stages cannot be properly replicated, such as suicide bullets from enemies in stage 7.
Core Unit (the stage 7 boss & final boss) also cannot be fought by itself; due to an inconsistency, its starting position will always be before the stage's final wave of enemies.
Finer control over extraneous resources (Type-C's Advanced Drive, Type-S' Delayed/Ethereal Shift, etc) and even life & bomb counts cannot be unlocked.
Shop menu
TODO MOVE SYSTEM SHOP ELSEWHERE
Bugs
Item shop listing 6 can be purchased repeatedly by reloading the shop, but it won't duplicate the item. However, unlocking High Performance AI (高性能AI) will permanently mark the item as bought, regardless of whether it was actually bought.
The achievement for getting 350 million points in stage 1 with type S (一面魔王S) won't unlock in Strict Rule mode, regular Rule must be played.
Some resource items can be collected for twice the usual gain (see #Resource duping).
1CC RUNS
One-credit clears we point to as the benchmark for this game.